Why Trello?
Trello is a powerful tool because it is so simple. You create an account, open a board, and start creating lists. Within each list, you create cards.
What do you do with the lists and cards? The lists could be family member names, while the cards are chores for the week. The lists could be phases of a project (to do, in progress, done, blocked) and the cards could be components of the project. The possibilities are endless, but here are some of the reasons why I chose Trello to plan the next book, whatever it may be.
Trello is…
- Free, though you can pay for a subscription and get additional features
- Both textual and visual planning
- Accessed from any web browser and has a mobile app
- Popular enough for some pretty cool extensions
The extensions are what really make this planning method shine. The default Trello experience is a series of columns in a single row. To combine my character sheets, story arc planning, marketing definition (book plan), timeline, and historical research into one board, I need rows of lists, preferably with a heading so the grouping is clear.

Trello comes with what they call Power-Ups to extend the experience, but I didn’t see anything that met my need. Plus, for free accounts, you only get one power-up. Enter browser extensions.
Set Up Your Trello Board
Create a Trello account if you don’t have one already.
- Create a new board
- Create lists to plan your novel, like
- Characters
- Eleven stages of a three-act story
- References (setting, newspaper clippings, maps)
- Timeline (my stories span a couple weeks)
- Book plan (goals, market demographics, marketing plan)
- If you know the content already, add cards to your lists
Create Your Swim Lanes
For this to work, you need the Chrome or Firefox web browser and its associated browser extension. These extensions only work on desktop/laptop views. I have Firefox, so the instructions at this point might differ for Chrome users.
- If you have Chrome, install the List Layouts for Trello extension.
- If you have Firefox, install the Swimlanes for Trello add on.
Swimlanes for Trello is pretty simple. To make a new swim lane, or row, type the pipe character (the vertical bar) into the name of your list. To make a characters row in the screenshot below, I named the first list “Main |Characters.” I waited about two seconds, and the board shifted to having headings above rows of lists. That’s it!

You will need to follow the instructions for List Layouts if you are on Chrome but I assume it is just as simple.
Success! What was multiple documents is now a single board. The fun thing about Trello is you can add labels to cards; I will like do this for the plot to chart where characters have pivotal moments. You can also add images , which I think will be useful for character sheets, setting, building references, etc.
Caveats and Disclaimers
This stacked list style only works on a Firefox desktop display. Since I write first drafts on paper, often with a mobile device beside me, it is easy to scroll the single list view if needed. When I’m in generative thinking mode and need the entire view, I’m probably on my laptop anyway.
If you make more lists after creating your swim lanes and have to move them around, it can confuse the extension back into a single row. If this happens, refresh the page and everything should return to the stacked view.
Those are the two glitches I’ve found so far, neither of which is a deal breaker for me.
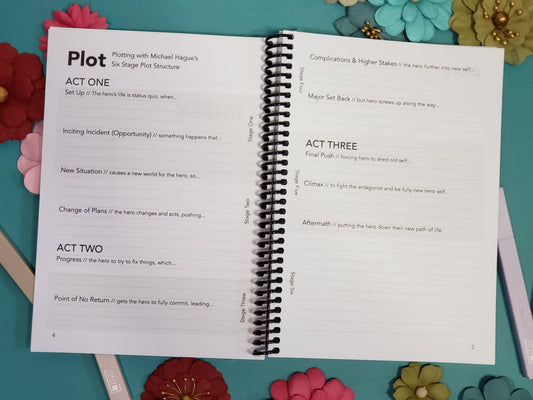
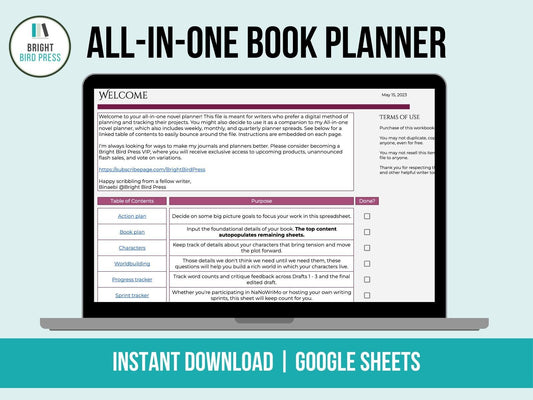
I hope this tutorial helps; let me know in the comments how you set up your board or if you’re using a different tool to plan your novel. If after this post you realize you still prefer pen and paper, check out my Bright Bird Press collection where I have novel planning notebooks for sale.
– Belinda


